Install Raspberry Pi OS
Table of contents
- Install Raspberry Pi OS
- Install Raspberry Pi OS using Raspberry Pi Imager
- Install Raspberry Pi OS Lite (64 bit)
Install Raspberry Pi OS
The best guide to get started with putting all things together is from the official Raspberry Pi documentation. This guide will not cover all of that, but some important parts only. It is assumed you can use the official Raspberry Pi documentation and resources to install Raspberry Pi OS easily.
Install Raspberry Pi OS using Raspberry Pi Imager
Again, the best resource to get to know and install the Raspberry Pi Imager is the official documentation. Please head over to it to install it for your Operating System. Once you have it installed follow the next steps.
Install Raspberry Pi OS Lite (64 bit)
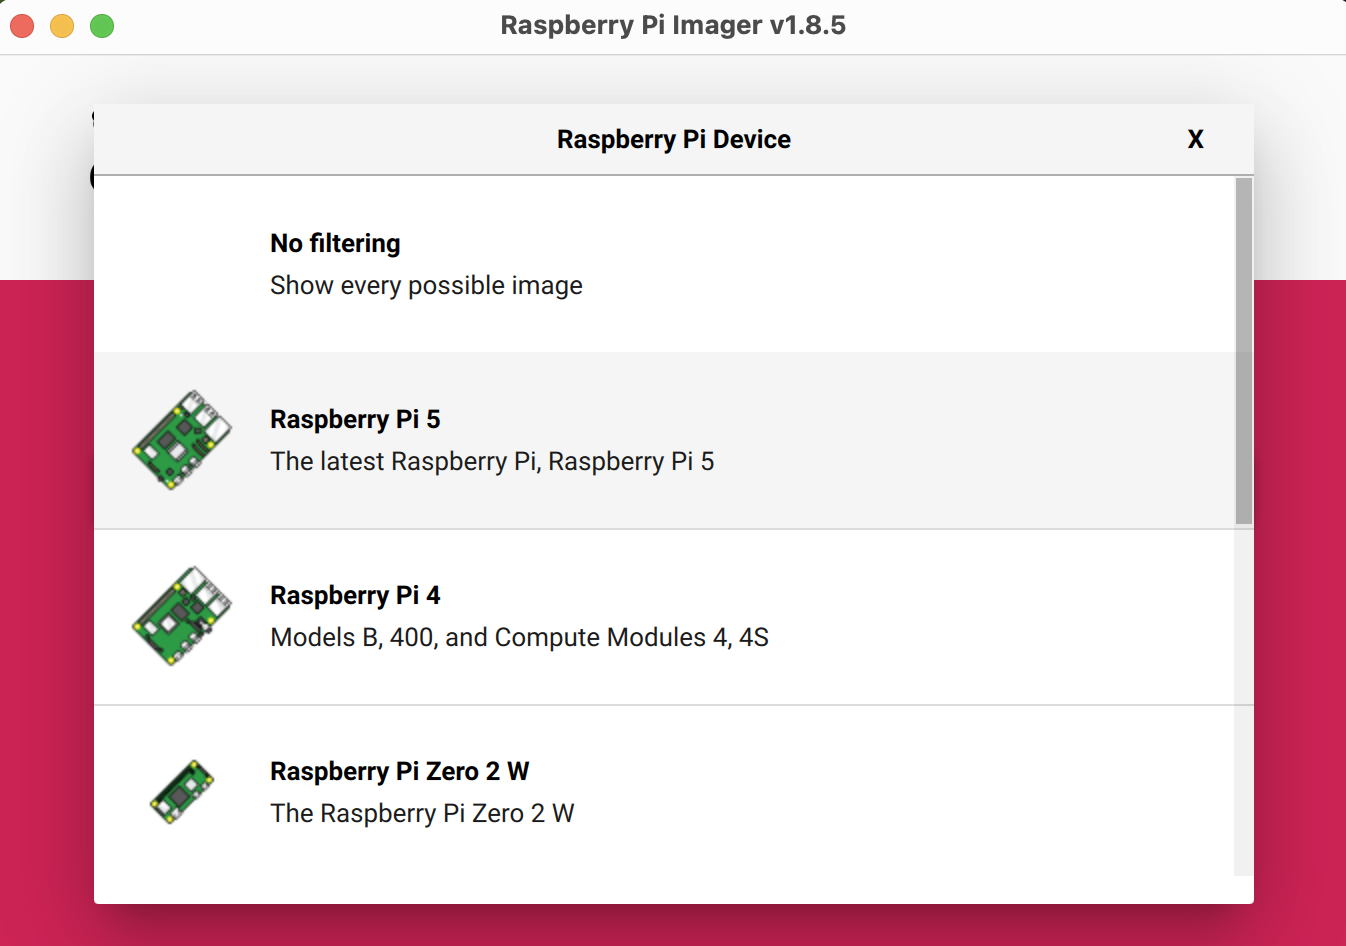
Click Choose device and select your Raspberry Pi model from the list. In your case it’s Raspberry Pi 5.
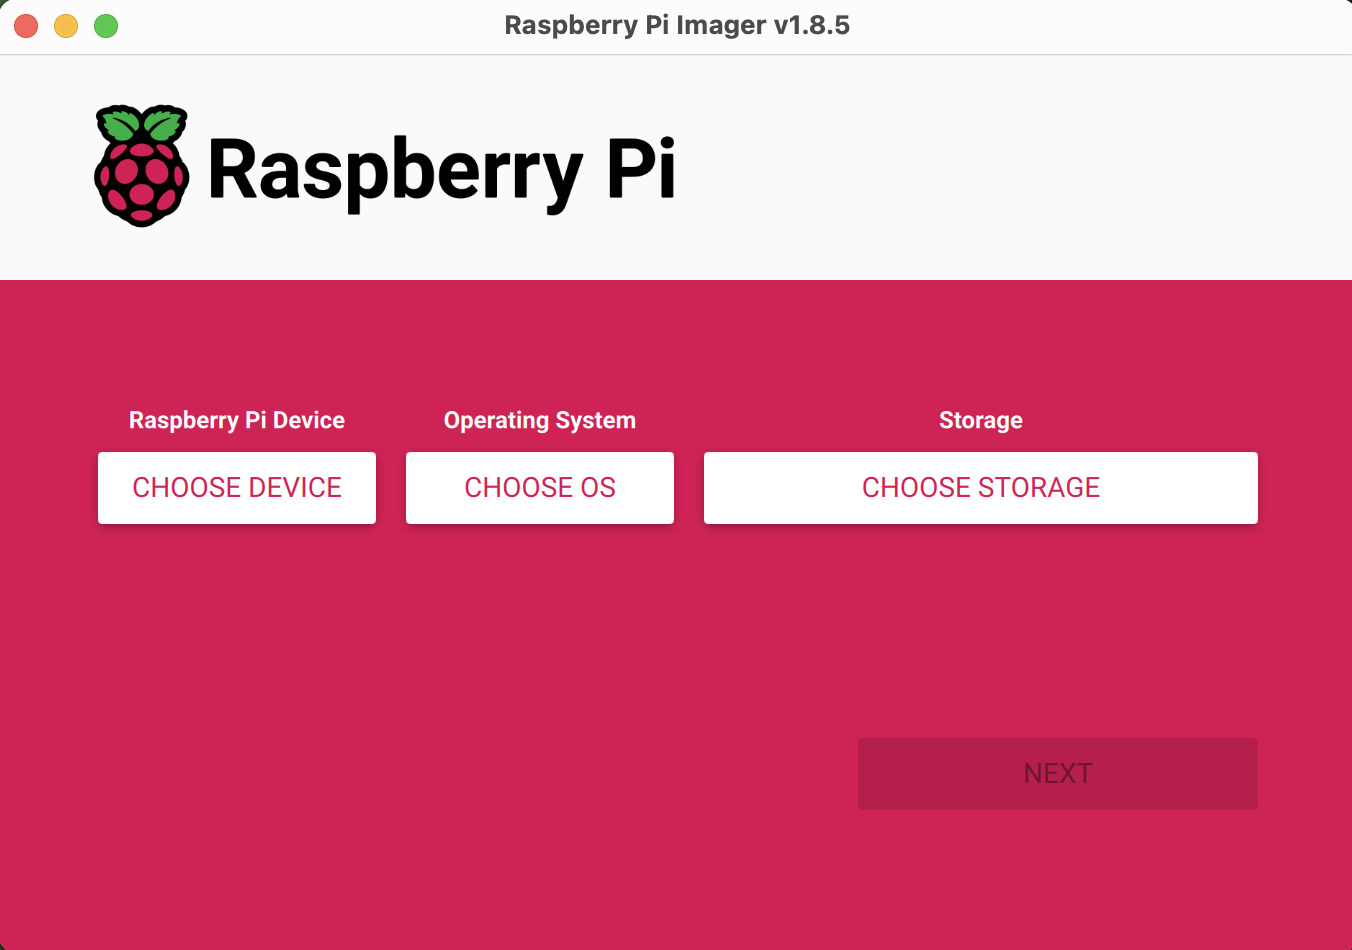
Next, click Choose OS and select an operating system to install. Imager always shows the recommended version of Raspberry Pi OS for your model at the top of the list. By default it will show a Desktop version of Raspberry Pi OS. But for our case we need Lite version, the command line only version of Raspberry Pi OS which will both save a bit of space on the storage and will be little efficient on system resources which can help make the Pirate Node run a tiny bit smoother.
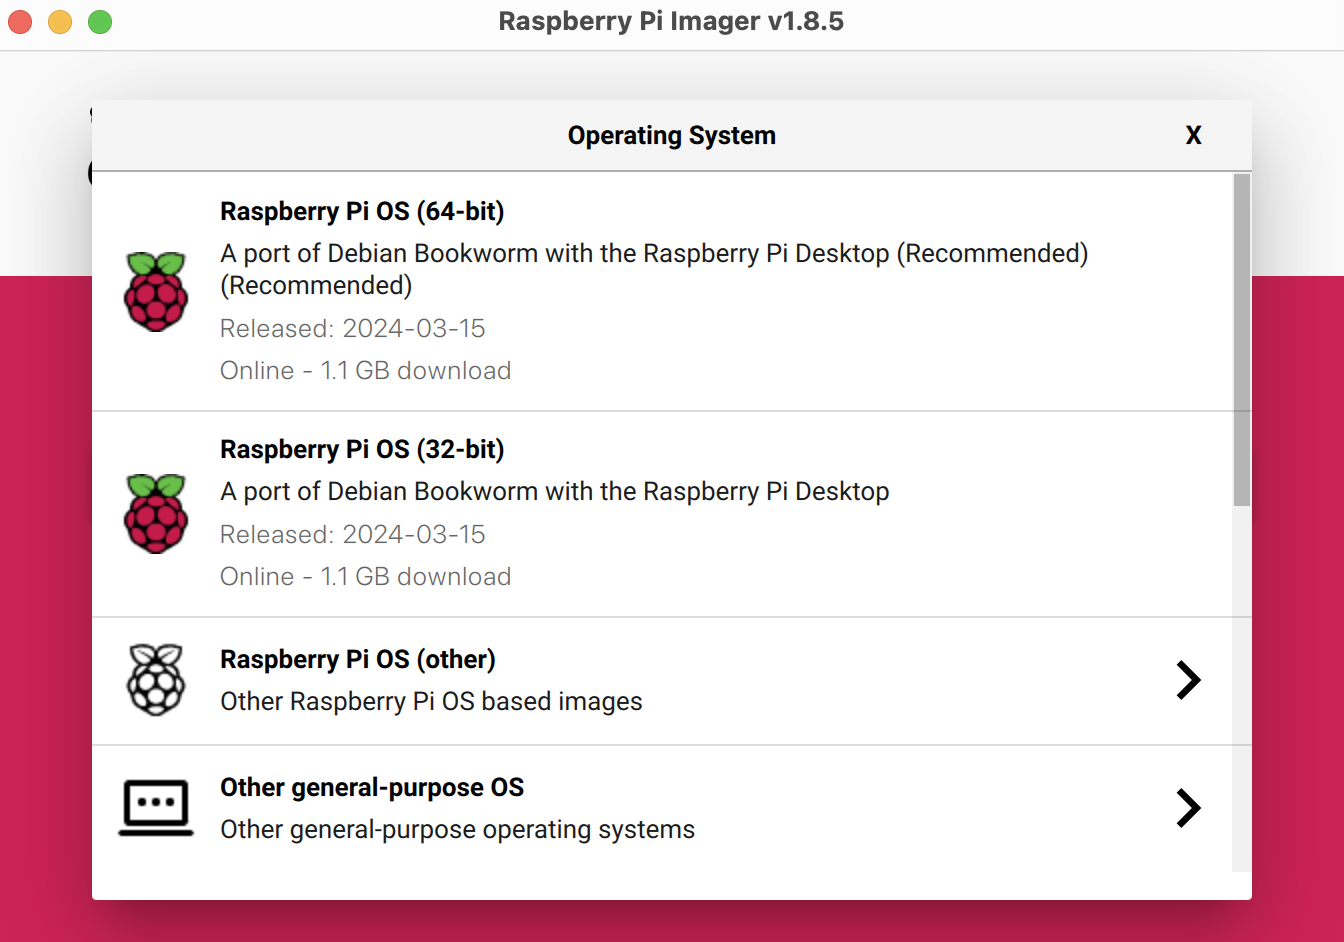
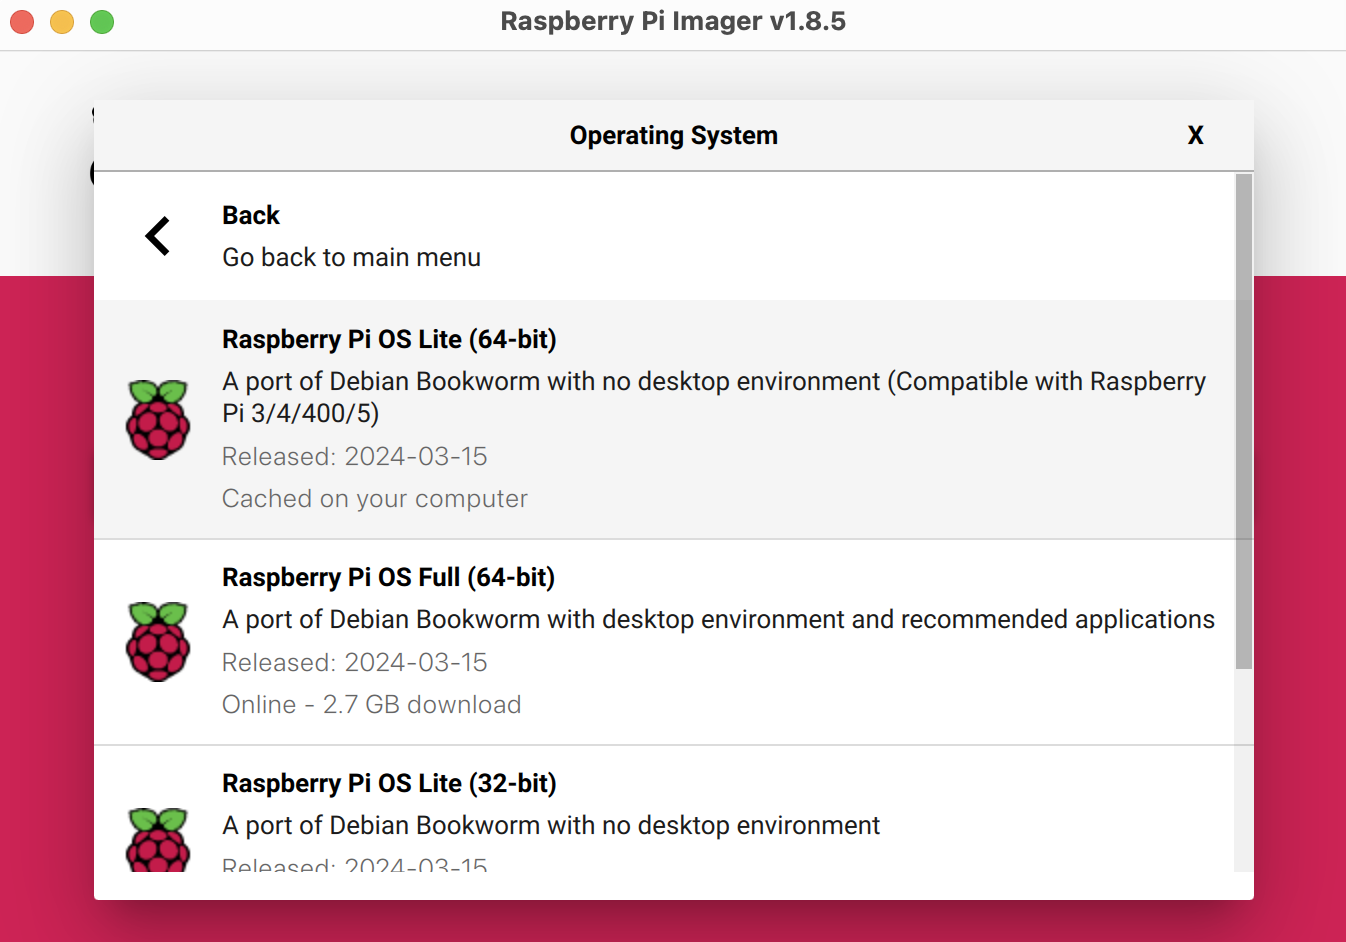
So, navigate to option Raspberry Pi OS (other) option on this screen, and from next screen select the operating system Raspberry Pi OS Lite (64 bit).
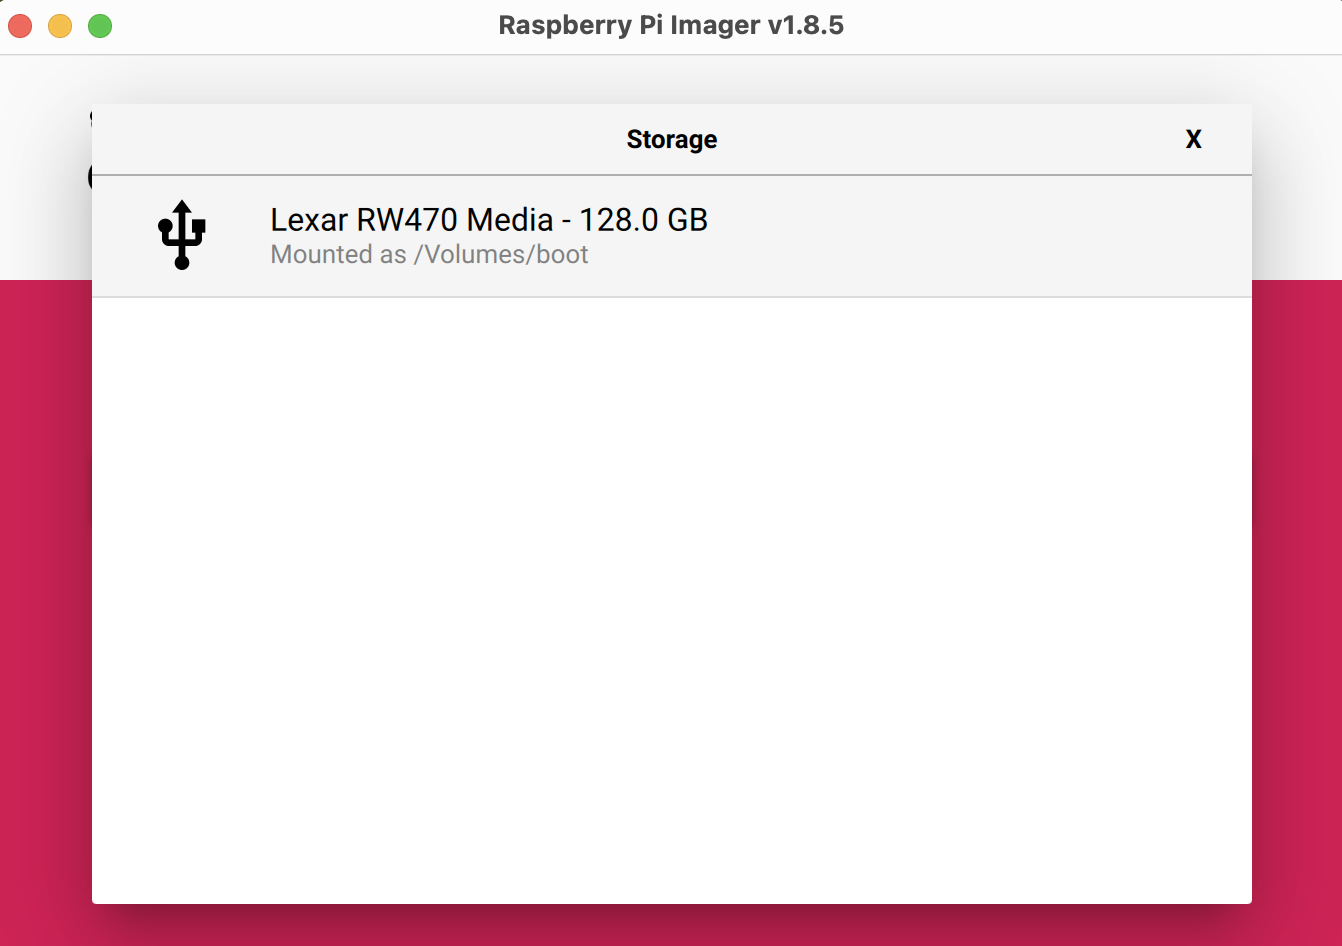
Connect your storage device to your computer. For example, plug a microSD card in using an external or built-in SD card reader. Then, click Choose storage and select your storage device.
If you have more than one storage device connected to your computer, be sure to choose the correct device! You can often identify storage devices by size. If you’re unsure, disconnect other devices until you’ve identified the device you want to image.
Once done your Raspberry Pi Imager will look like this:
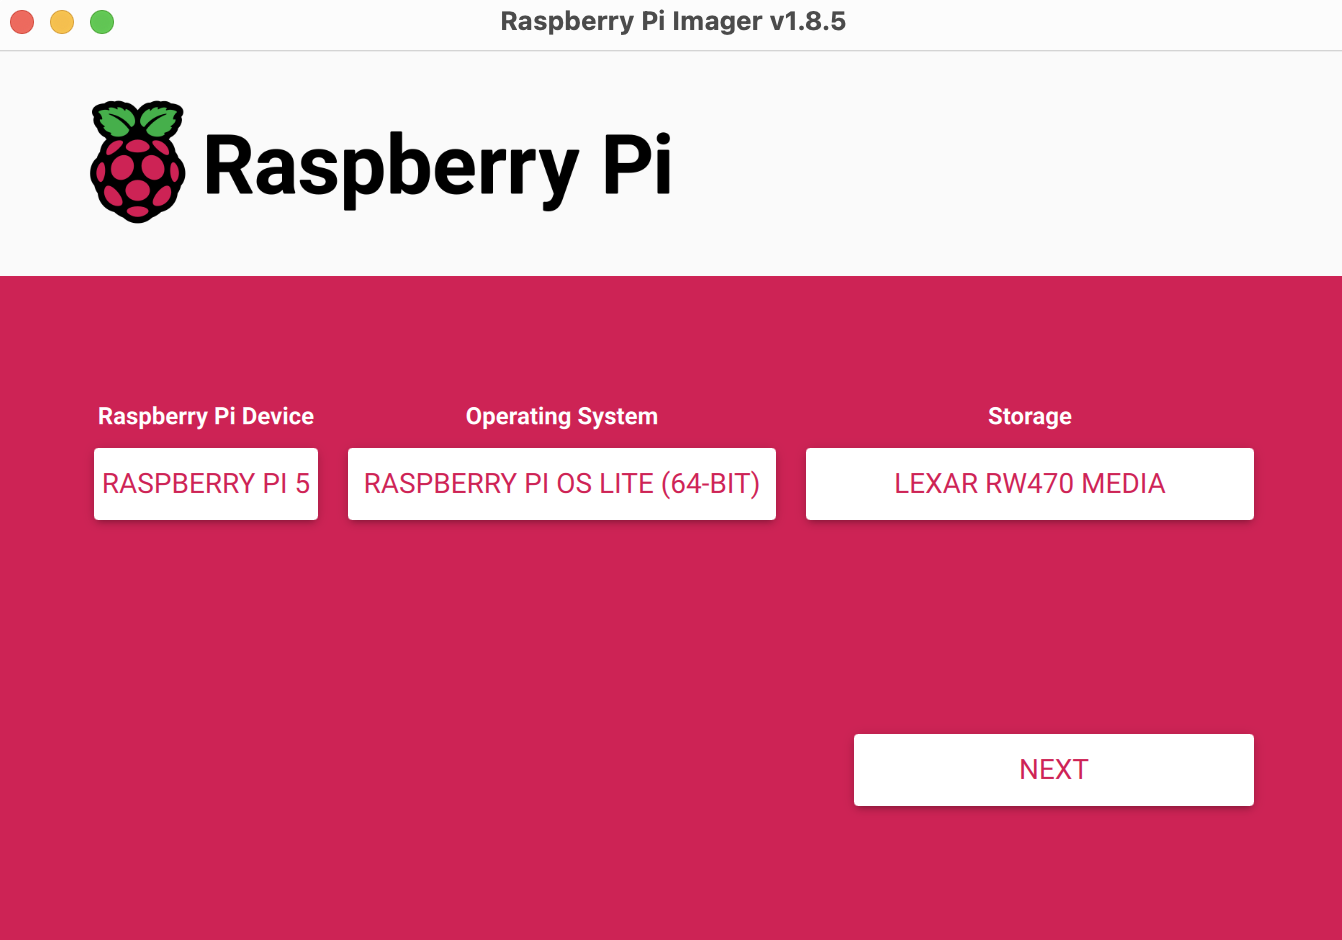
Next, click Next.
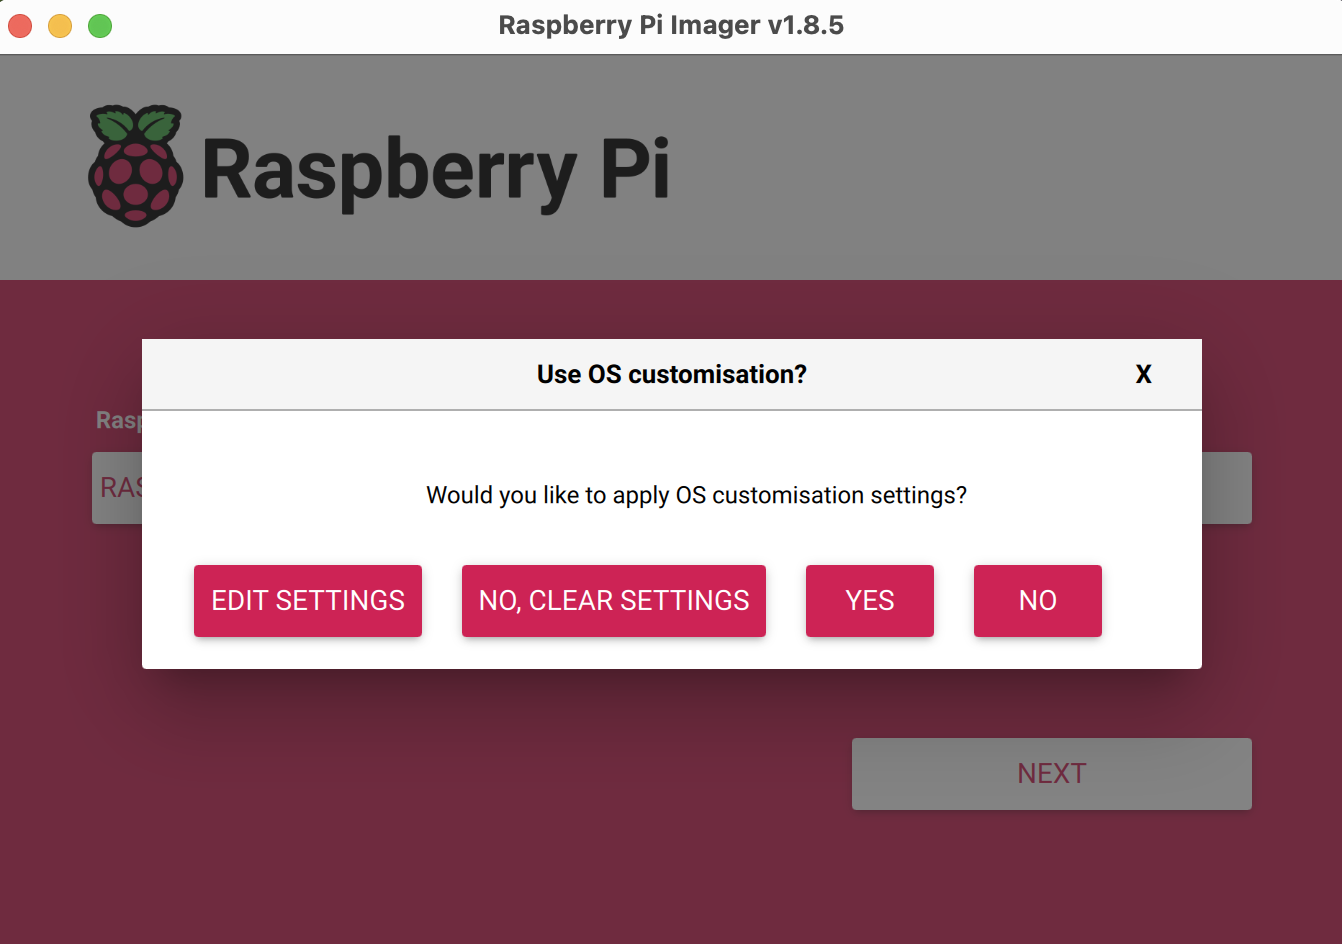
It is strongly recommended to configure your Raspberry Pi via the OS customisation settings. Click the Edit Settings button to open OS customisation.
Since you are using the command line version of Raspberry Pi OS for this setup, you should not avoid these settings at all. And in case you have mistakenly avoided it, it’s strongly recommended you re-do the OS install process again.
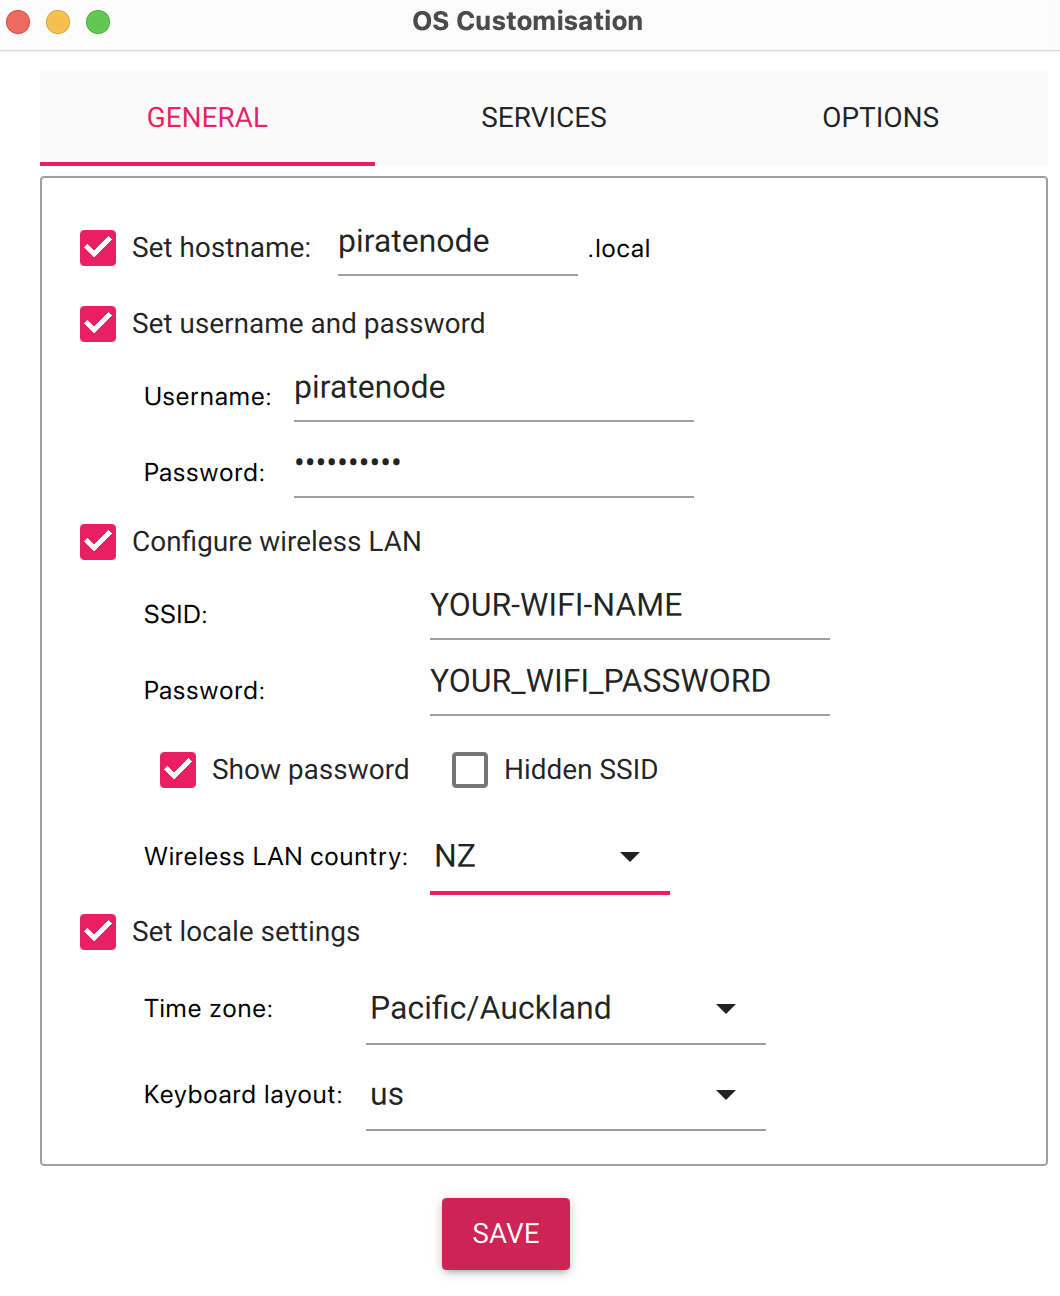
In OS customisation umder General tab set the following settings:
- Set hostname to
piratenode - Chose your
usernameandpassword- This is the username and password you will use to access your Pirate Node remotely, and without it you will have hard time finding access to Raspberry Pi OS. - Configre wireless LAN is setting up your WiFi settings. Give it your
WiFi's name/SSIDandpassword. It is still possible due to number of reasons your Raspberry Pi may still not be able to connect to WiFi, but its still best to configure your Raspberry Pi to connect to WiFi. In any case you should directly connect your Raspberry Pi with a LAN network cable to ensure it is connected to the network once you are ready to turn it on. - Your WiFi country must be automatically picked up by the wizard, so most probably you will not need to change it, but in case it is incorrect then select the appropriate country.
- Just like WiFi country the it must automatically select your locale settings, but in case it needs correct, please select appropriate settings.
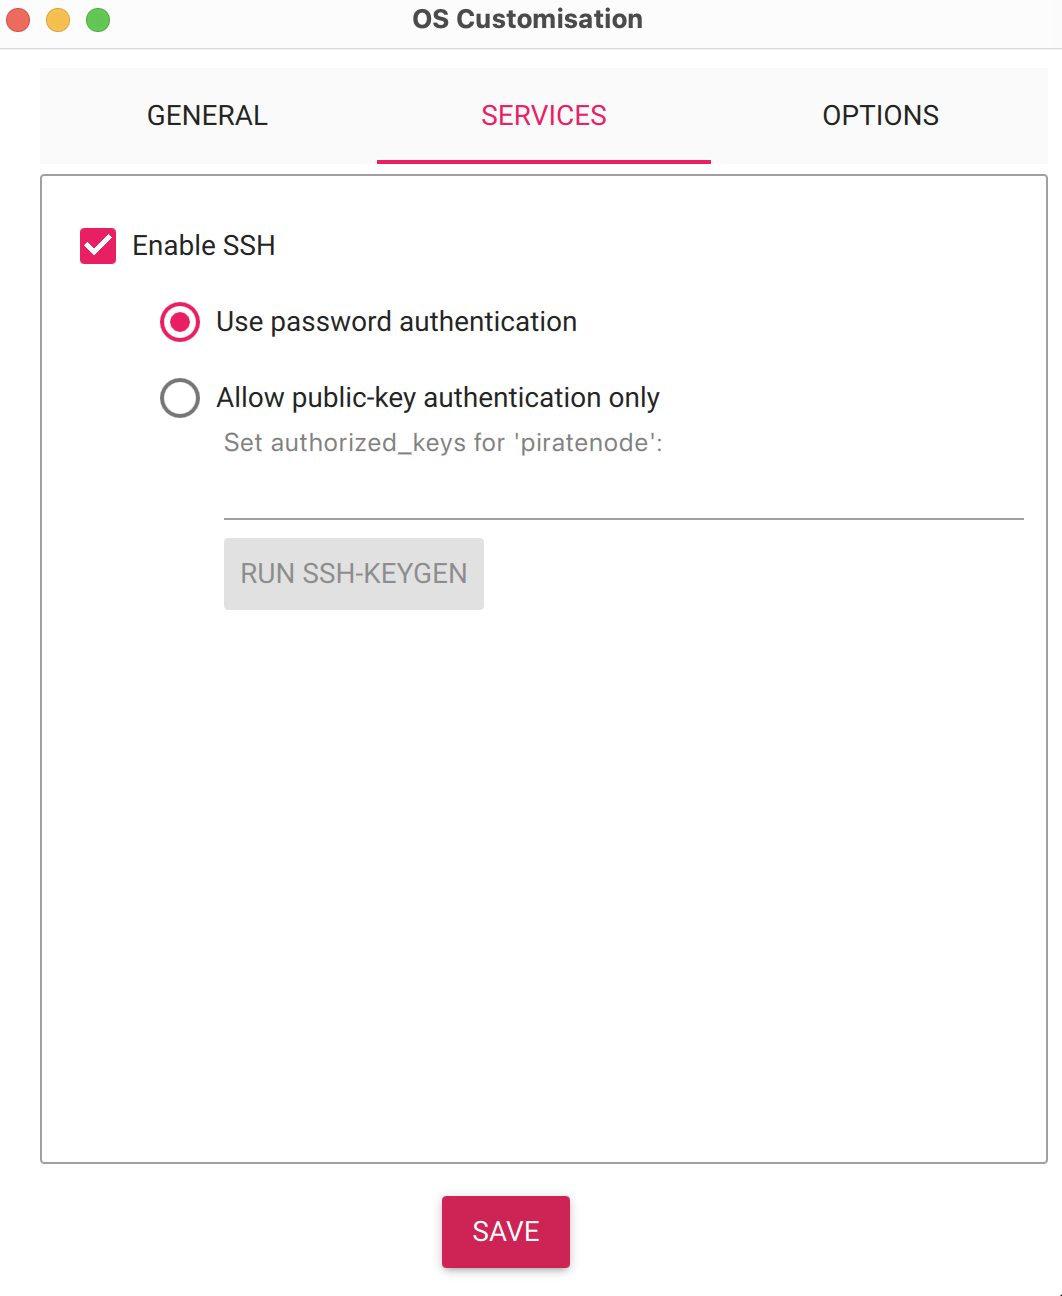
Next, select Services tab. Here you can set SSH key. If you do not know yet what it is, then leave this setting as is and skip these settings.
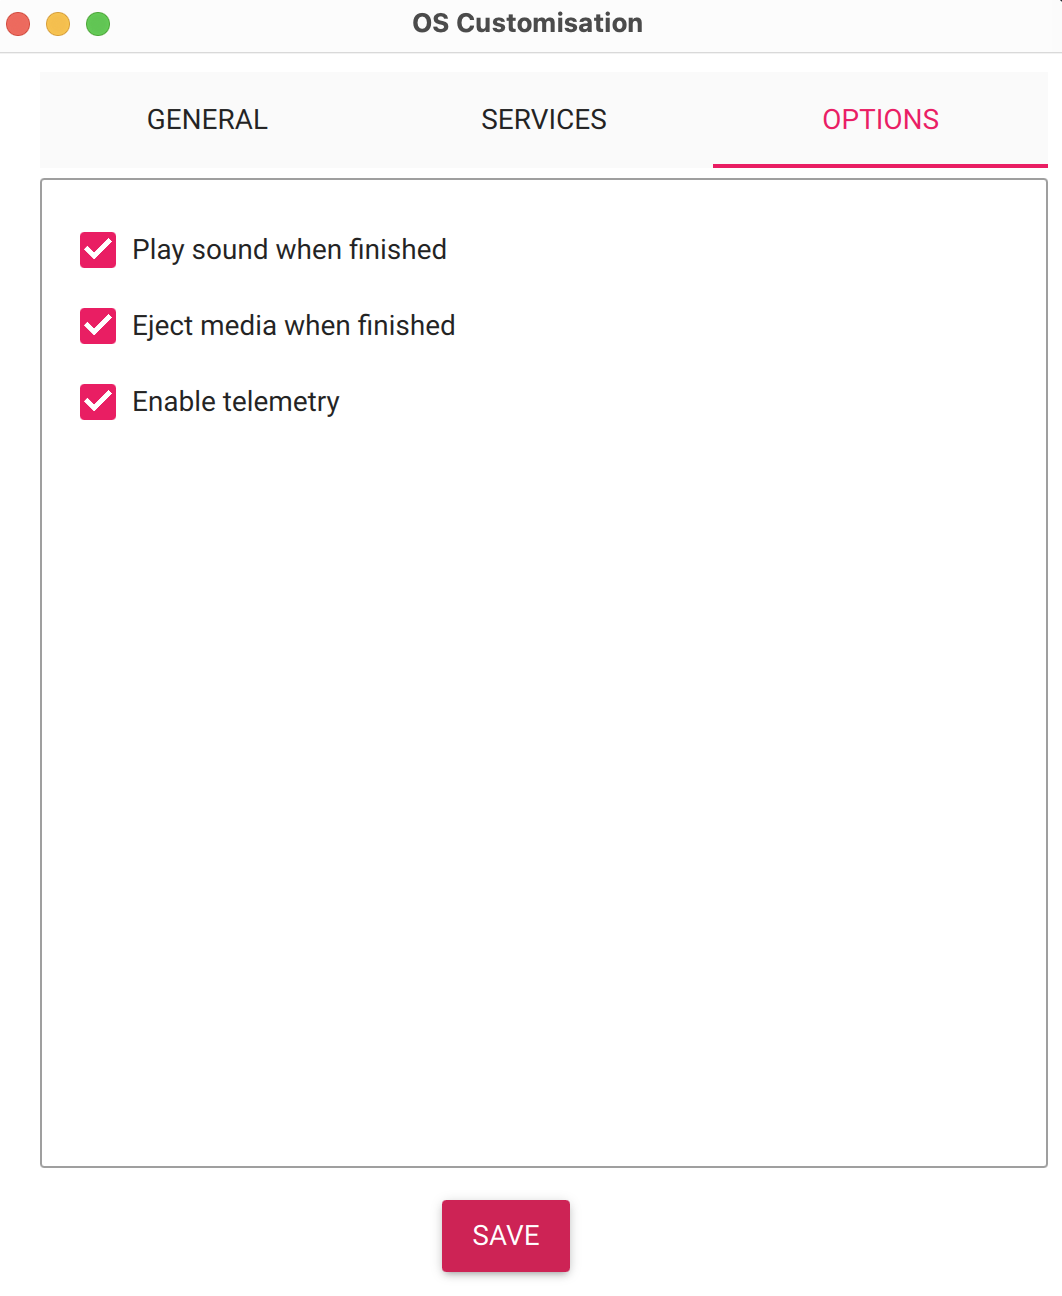
You don’t need to make any changes to the Options tab.
When you’ve finished entering OS customisation settings, click Save to save your customisation.
Then, click Yes to apply OS customisation settings when you write the image to the storage device.
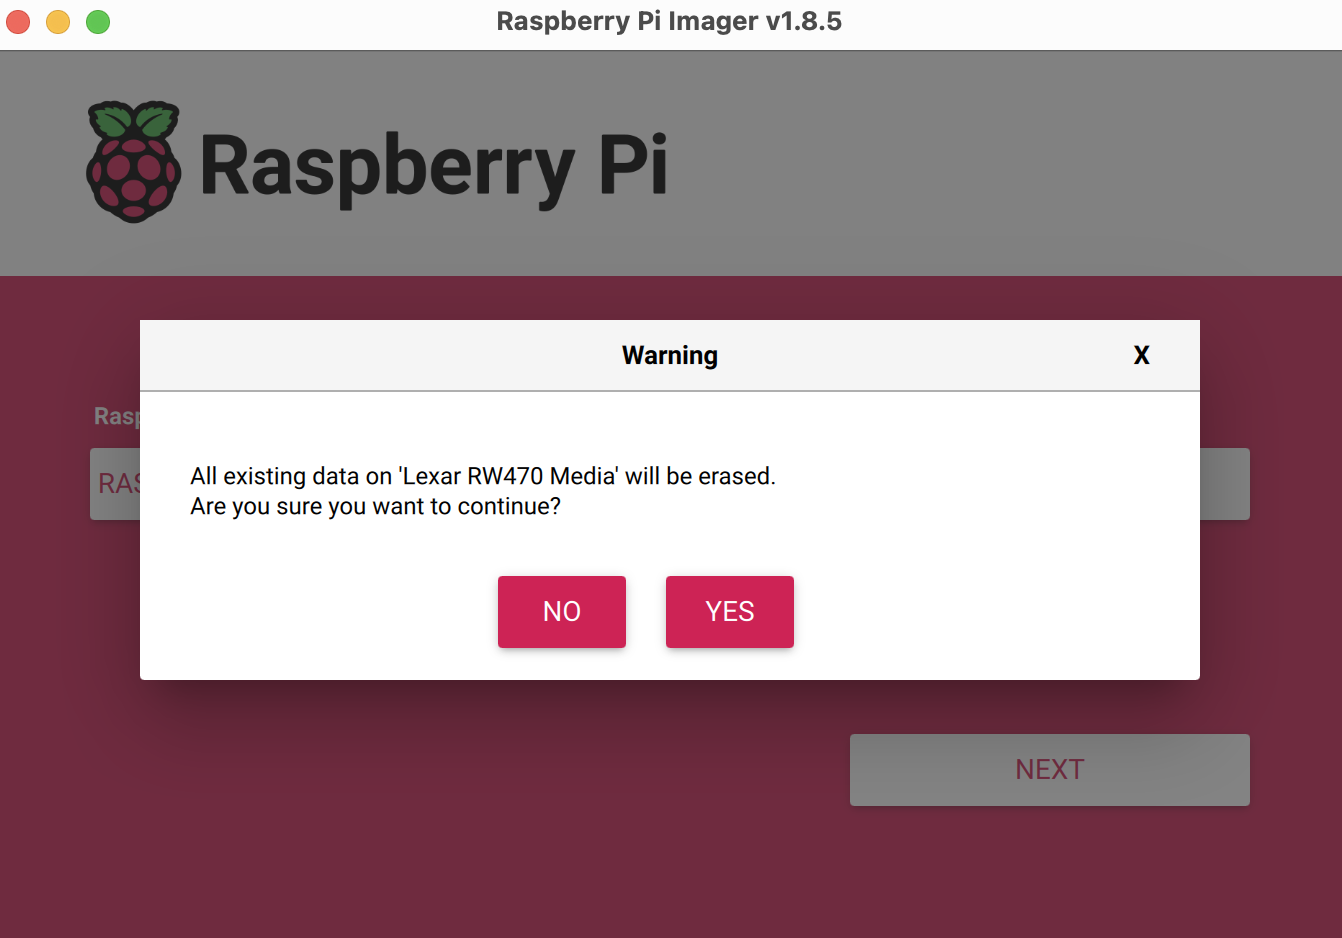
Finally, respond Yes to the “Are you sure you want to continue?” popup to begin writing data to the storage device.
If you see an admin prompt asking for permissions to read and write to your storage medium, grant Imager the permissions to proceed.

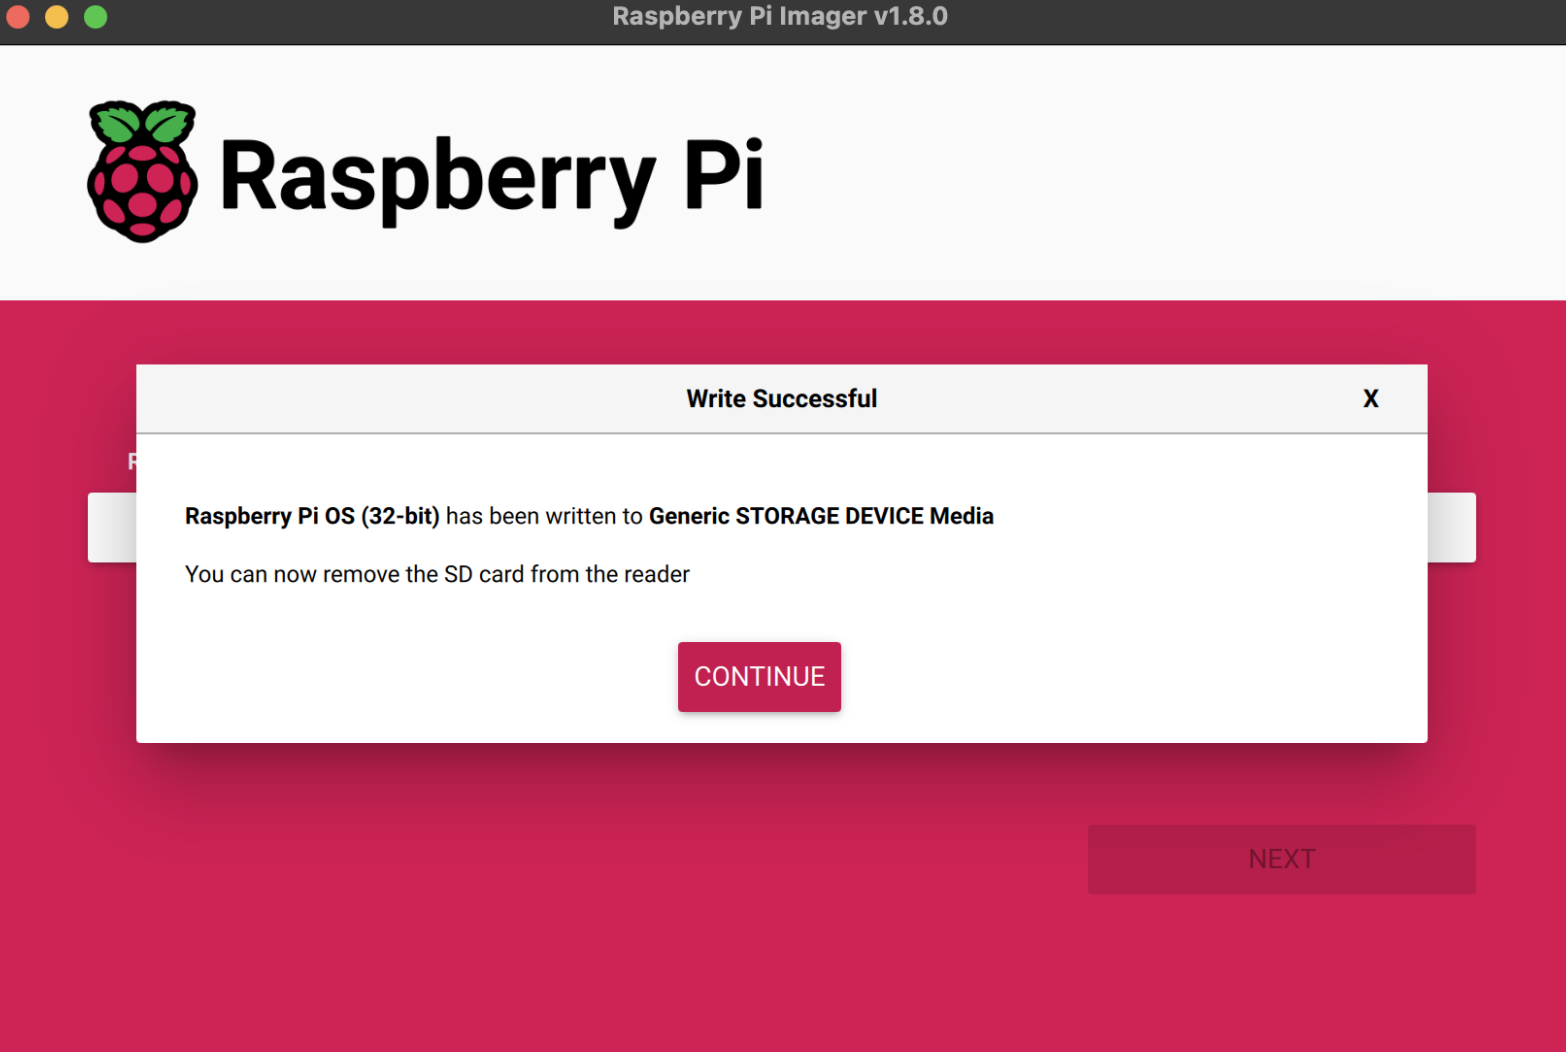
When you see the “Write Successful” popup, your image has been completely written and verified. You’re now ready to boot a Raspberry Pi from the storage device!
Now you can insert the microSD Card into your Raspberry Pi 5 board.
Next insert network LAN cable into Raspberry Pi’s LAN port, and insert the USB-C power cable in Raspberry Pi 5’s USB-C port to turn it on.
This is basically all you need to have a Raspberry Pi 5 running with it’s operating system running and having it accessible over network.
If everything worked as expected, follow the next part of the guide on how to connect to your Raspberry Pi 5 from network through command line.
And in any case you still had trouble accessing the Raspberry Pi from network due to many possible reasons, just try the official Raspberry Pi guide and follow it’s guide to install Desktop version of Raspberry Pi OS. It might be a little performance trade off with Desktop version Raspberry Pi OS, but all you need is a operation Raspberry Pi which is accessible over the network.